Here is one of the boreds baking:
Secondly:

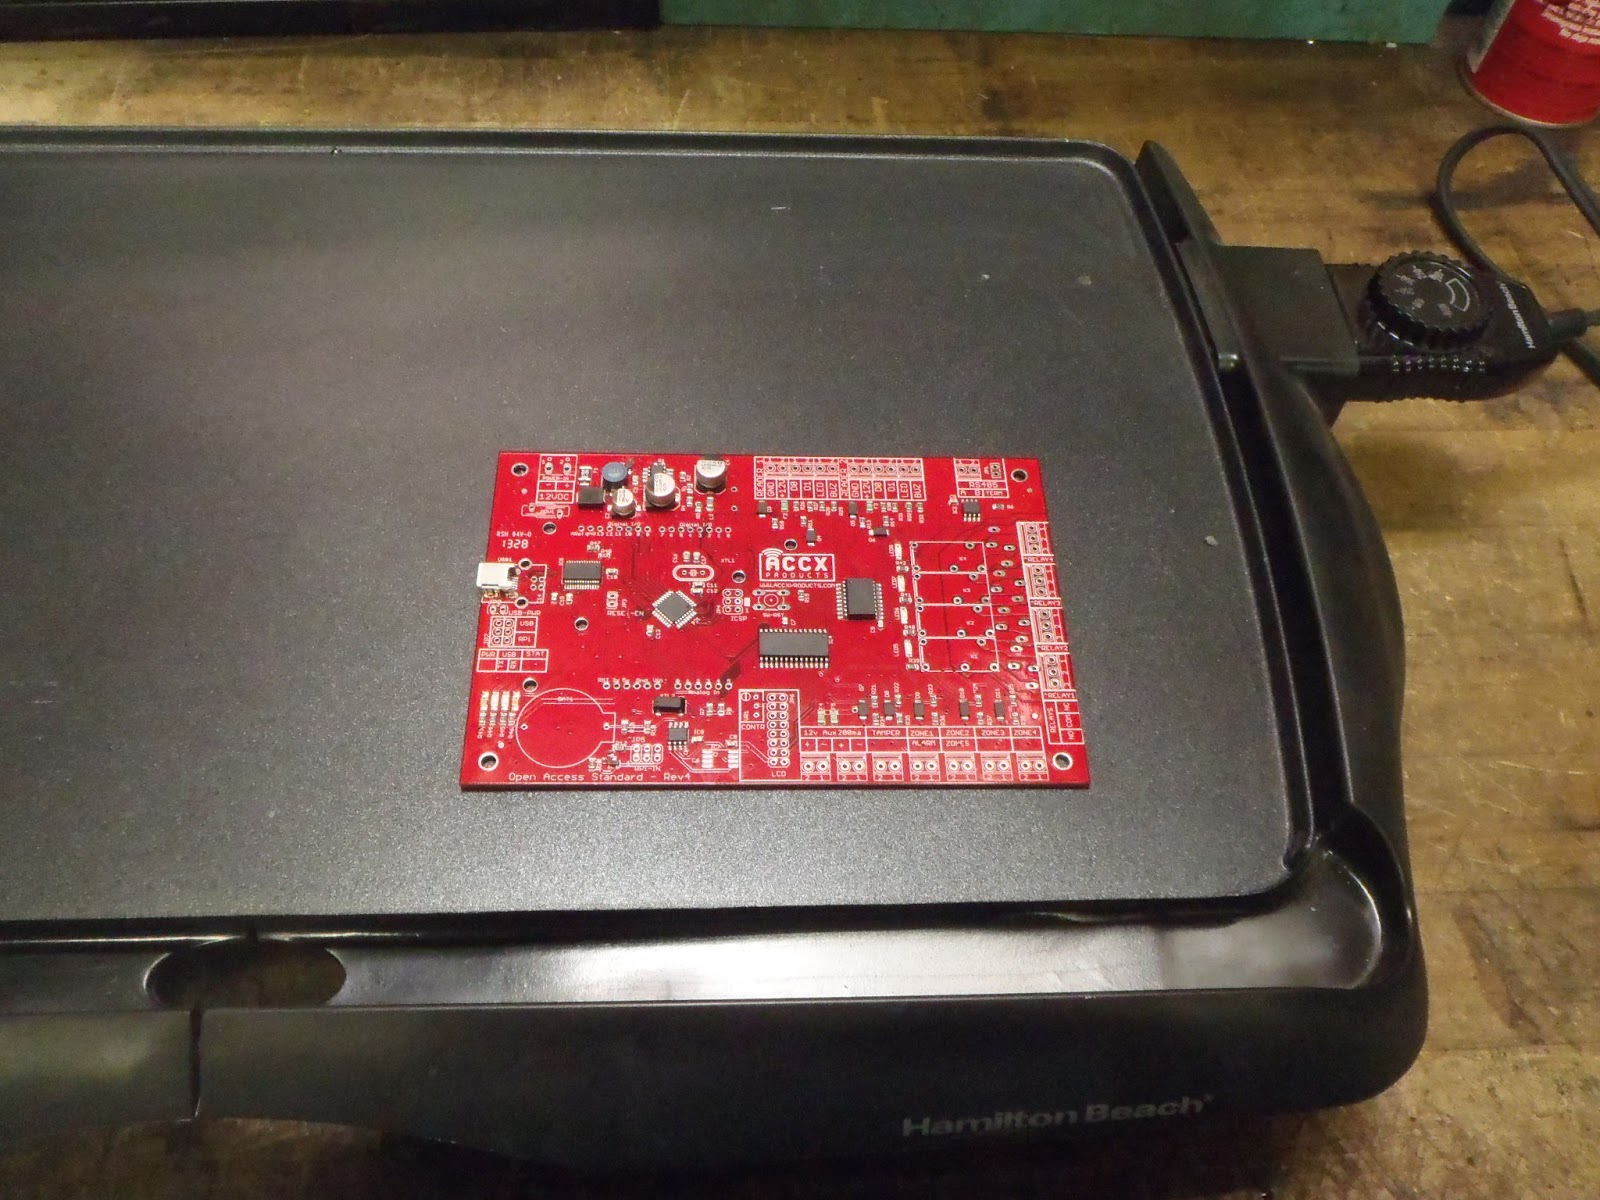
This is one of the "finished" products. I wrote "finished" in quotes as the circuit is complete but, we still needed to attach a few things to the header. I am SO pleased that it worked BEAUTIFULLY the first time! To be fair, I had two very experienced professionals look it over before we checked its functionality and, as a result, I did clean up some of the surface solders. When the second guy grabbed it from me and said that he was "going to take it under the microscope," I didn't know he was being LITERAL! Lol : /
Lastly:

Interesting fact: as the boards bake, they get redder; they go from a bright red to a deep red!
Now, to Wiki the instructions so that others may build their own version (which will not get finished by today-- I'm exhausted)!
Stay tuned for next week when I learn use Solid Works to print something out using the 3D printer! Any ideas as to what I should design?
No comments:
Post a Comment